- Create or Import a MongoDB Deployment >
- Interact with Your Data >
- Manage Indexes in Data Explorer
Manage Indexes in Data Explorer
On this page
You can use the Data Explorer to manage indexes on your collections.
To interact with data in the Ops Manager UI:
- Click Deployment in the left navigation.
- Select the desired MongoDB deployment.
- Select the Data tab.
Required Roles
To create or drop indexes, you must have access provided by at least one of the following roles:
View Indexes
From the Collections tab, you can view index information for a collection. To view index information for a collection:
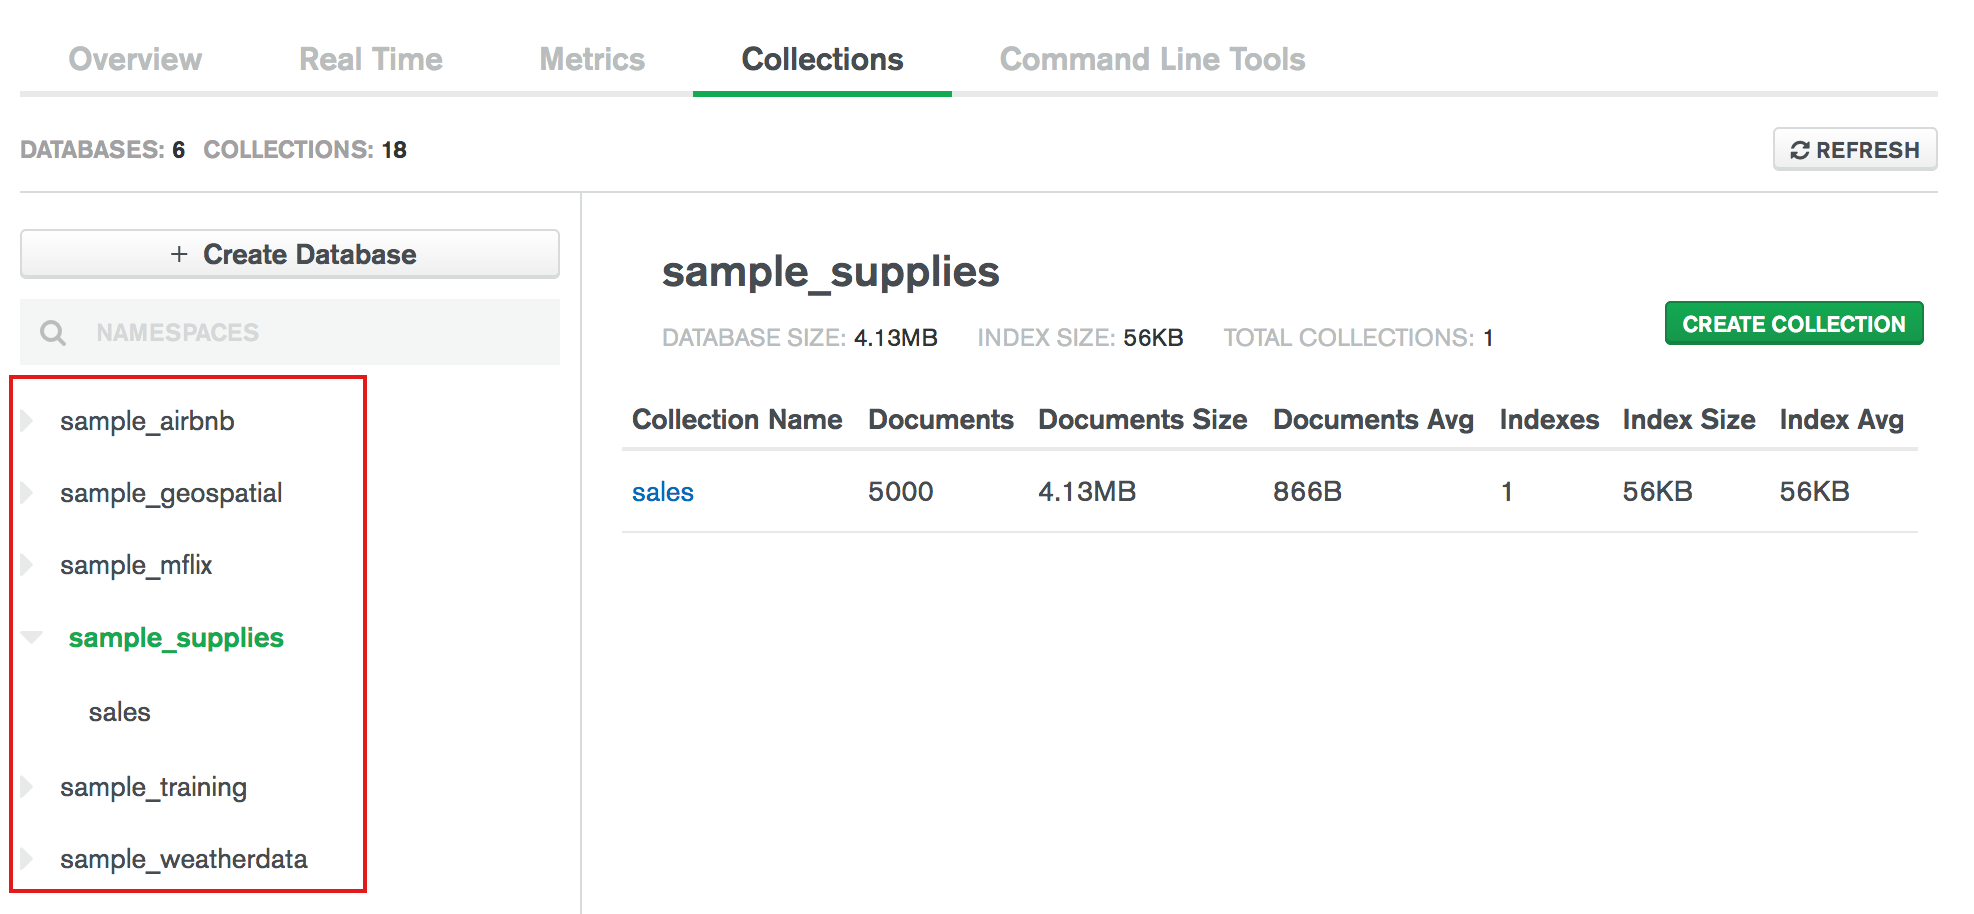
Select the database for the collection.
The main panel and Namespaces on the left side list the collections in the database.
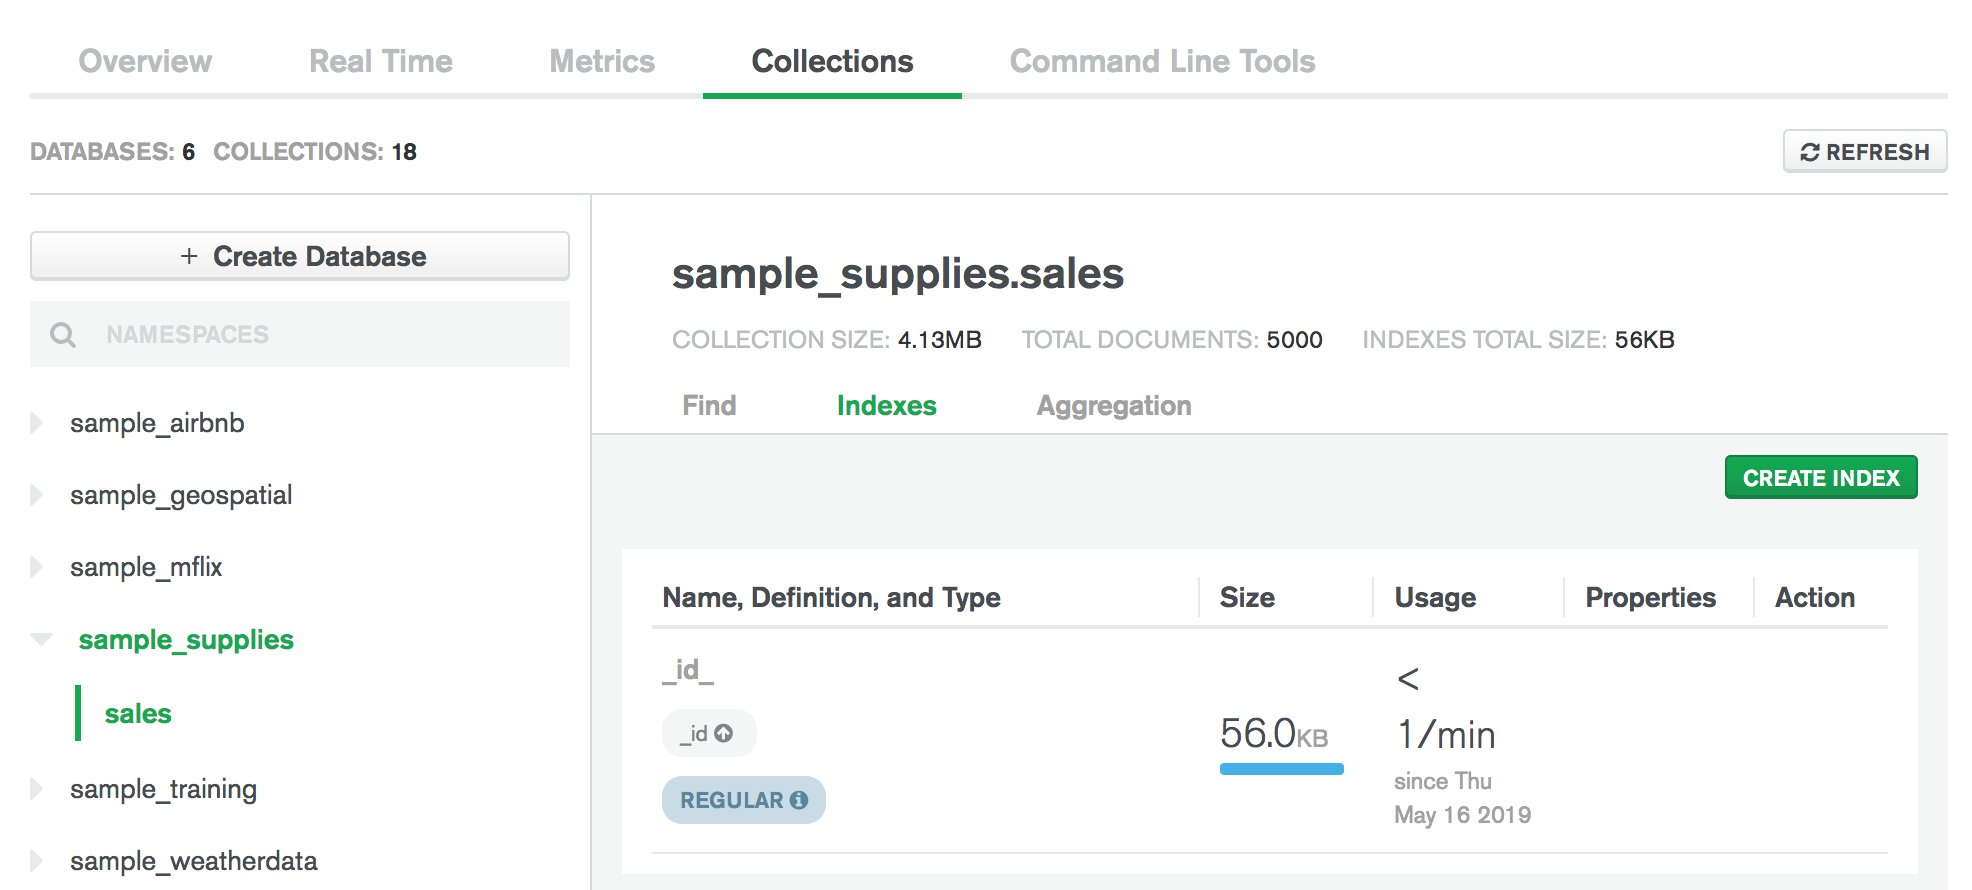
Select the collection on the left-hand side or in the main panel.
The main panel displays the Find, Indexes, and Aggregation views.
Select the Indexes view.
The indexes table lists the indexes and associated index information for the collection. Index information includes the index definition, the size, and the usage frequency.
Create an Index
Tip
When you create indexes, keep the ratio of reads to writes on the target collection in mind. Indexes come with a performance cost, but are more than worth the cost for frequent queries on large data sets. To learn more about indexing strategies, see Indexing Strategies.
To create an index for a collection through the Data Explorer:
Go to the Indexes tab.
- Click the collection you wish to index.
- Click the Indexes tab under the collection name.
Click Create Index.
In the Create Index modal,
enter the index key specification
document in the Fields box:
Example
To create a compound index on the fields category
(ascending order) and score (descending order), specify the
index specification document:
For more information on indexes, see Indexes.
(Optional) Specify the index options.
Example
To set the unique option and a name for the new index,
enter this document:
(Optional) Set the Collation options.
Use collation to specify language-specific rules for string comparison,
such as rules for lettercase and accent marks. The
collation document
contains a locale field which indicates the ICU Locale code, and may contain other
fields to define collation behavior.
Example
The following collation option document specifies a locale value
of fr for a French language collation:
To review the list of locales that MongoDB collation supports, see the list of languages and locales. To learn more about collation options, including which are enabled by default for each locale, see Collation in the MongoDB manual.
(Optional) Build indexes with rolling builds.
Important
Rolling index builds succeed only when they meet certain conditions. To ensure your index build succeeds, avoid the following design patterns that commonly trigger a restart loop:
- Index key exceeds the index key limit
- Index name already exists
- Index on more than one array field
- Index on collection that has the maximum number of text indexes
- Text index on collection that has the maximum number of text indexes
Note
Data Explorer does not support building indexes in a rolling fashion for standalone deployments.
Building indexes in a rolling fashion reduces the performance impact of building indexes on replica sets and sharded clusters. To maintain cluster availability, Ops Manager removes one node from the cluster at a time starting with a secondary.
After you build an index in a rolling fashion, if your MongoDB database
runs with an
FCV
less than 4.2,
resync the head database to ensure that
the head database takes the new index into account.
To learn more about rebuilding indexes, see Build Indexes on Replica Sets.
Note
The following index options are incompatible with building indexes in a rolling fashion:
Ops Manager ignores these options if you specify them in the Options pane.
Click Create.
Confirm your index.
The Confirm Operation modal appears.
- If your index creation looks correct, click Confirm. This closes the modal and create the index.
- If your index creation looks incorrect, click Cancel. This closes the modal without creating the index.
Drop an Index
To drop an index from a collection through the Data Explorer:
Go to the Indexes tab.
Select the collection whose index you wish to drop, and go to the Indexes tab.
Click the Drop Index button for the index to drop.
Confirm action.
Confirm by typing the name of the index, and click Drop.
Note
You cannot delete the _id index.