- Create or Import a MongoDB Deployment >
- Data Explorer >
- Manage Documents in Data Explorer
Manage Documents in Data Explorer
You can use the Data Explorer to manage documents inside your cluster collections.
To access the Data Explorer:
- Click Deployment in the left navigation.
- Select the desired MongoDB deployment.
- Select the Data Explorer tab.
Required Roles
To insert, edit, or delete documents, you must have been granted access through one of the following roles:
View Documents
From the Collections tab, you can view documents in a collection. To view documents for a collection:
Select the database for the collection.
The main panel and Namespaces on the left side list the collections in the database.
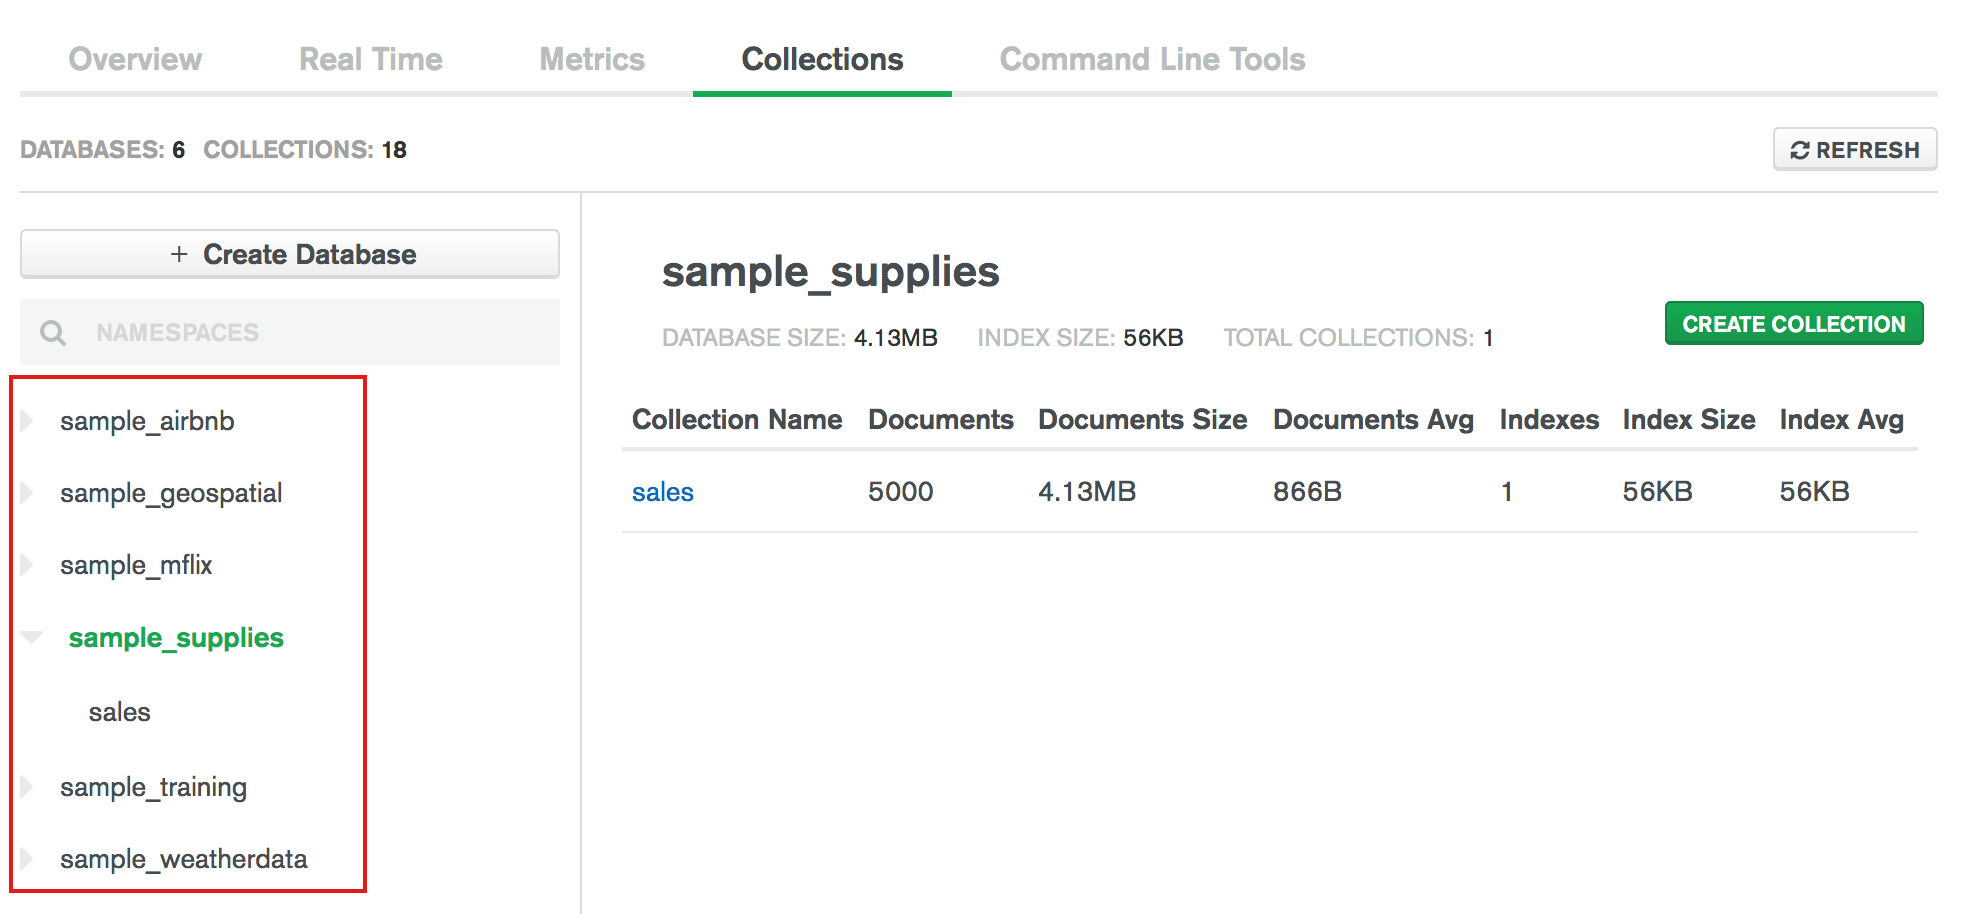
Select the collection on the left-hand side or in the main panel.
The main panel displays the Find view and the Indexes view.
Select the Find view.
The panel displays the documents in the collection. Each page displays up to 20 documents.
Optional. Specify a query filter.
To specify filter condition, type in a query filter document in the filter bar. For example, to specify equality condition, use a filter document of the form:
To use query operators to specify a filter condition, use a filter document of the form:
For more information on specifying query filters, including compound conditions, see Query Documents.
Click Find to run your query.
Number of Documents Displayed per Page
Ops Manager limits the total byte size of documents shown per page in the Data Explorer. As a result, you may see varying numbers of documents per page, especially if your documents vary significantly in size.
Insert Documents
To add a document to a collection through the Data Explorer, you can specify the document to insert from scratch or you can clone an existing document and modify its fields and values as needed.
Insert One Document
Go to Find tab in Data Explorer.
Select the collection and go to the Find tab.
Modify the document.
- To add a new field after an existing field, hover over the field and click on the plus sign that appears over the field’s line number.
- To delete a field, hover over the field and click on the x sign
that appears to the left of the field’s line number. You cannot
delete the
_idfield. - To edit a field name, value, or type, click on the field name, value, or type.
Click Insert.
Clone One Document
Go to Find tab in Data Explorer.
Select the collection and go to the Find tab.
Up to 20 documents displays in the tab.
Optional. Specify a filter.
To specify filter condition, type in a query filter document in the filter bar. For example, to specify equality condition, use a filter document of the form:
To use query operators to specify a filter condition, use a filter document of the form:
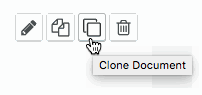
Clone the document.
To clone a document displayed in the query results, hover over the document and click on its clone document icon.
The document editor appears with the _id field with an
ObjectId value that reflects the time of its generation and
not the insertion time of the document. As such, the ObjectId
does not represent a strict insertion order.
Modify the document.
- To add a new field after an existing field, hover over the field and click on the plus sign that appears over the field’s line number.
- To delete a field, hover over the field and click on the x sign
that appears to the left of the field’s line number. You cannot
delete the
_idfield. - To edit a field name, value, or type, click on the field name, value, or type.
Click Insert.
Edit One Document
To edit a document from a collection through the Data Explorer:
Go to Find tab in Data Explorer.
Select the collection and go to the Find tab.
Up to 20 documents displays in the tab.
Optional. Specify a filter.
To specify filter condition, type in a query filter document in the filter bar. For example, to specify equality condition, use a filter document of the form:
To use query operators to specify a filter condition, use a filter document of the form:
Edit the document.
To edit a document displayed in the query results, hover over the document to edit and click on the pencil icon.
The document appears in the document editor:
- To add a new field, hover over the field and click on the plus sign that appears over the field’s line number.
- To delete a field, hover over the field and click on the x sign
that appears to the left of the field’s line number. You cannot
delete the
_idfield. - To edit a field name, value, or type, click on the field name, value, or type.
- To revert a specific change, hover over the edited field and click the revert icon that appears to the left of the field’s line number.
Save or cancel changes.
To confirm and save changes, click the Update button.
To cancel all modifications to the document, click the Cancel button.
Delete One Document
To delete a document from a collection through the Data Explorer:
Go to Find tab in Data Explorer.
Select the collection and go to the Find tab.
Up to 20 documents displays in the tab.
Optional. Specify a filter.
To specify filter condition, type in a query filter document in the filter bar. For example, to specify equality condition, use a filter document of the form:
To use query operators to specify a filter condition, use a filter document of the form:
Delete the document.
To delete a document displayed in the query results, hover over the document to delete and click on the trash can icon.
The document is flagged for deletion.